
Part of the RC Airplane Flying Skills Center
I’ve thrown a few airplanes into the ground. Some of them weren’t even mine. That makes the walk out to pick up the pieces a little more awkward, especially when the guy who built the airplane is standing next to you.
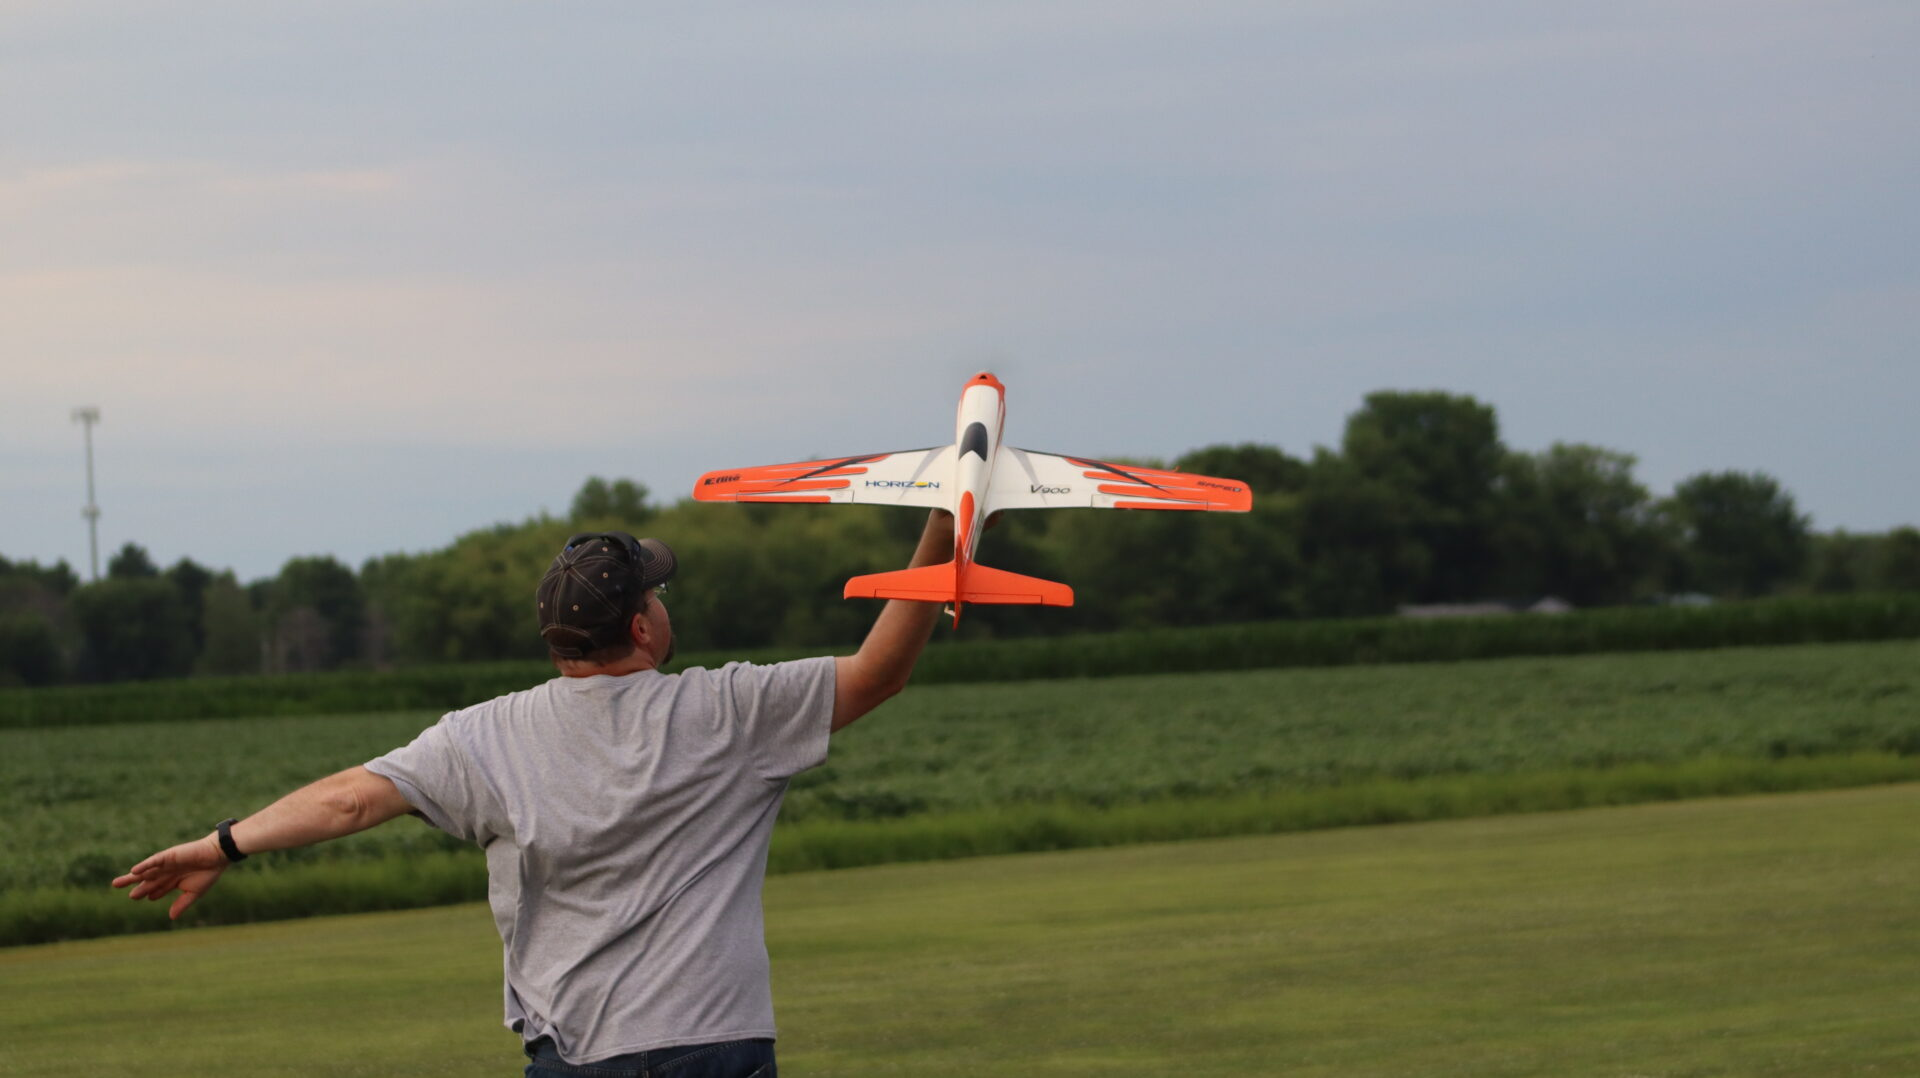
Hand launching really can be straightforward. But you need a good hold on the airplane, enough speed when you let go, and a pilot who’s ready to fly it. If somebody else is doing the throwing, both of you need to know exactly when the power is coming up and when the airplane is leaving their hand. I’ve learned that part the hard way.
Here’s how I’d approach it, whether you’re helping a friend or getting your own airplane in the air.
Does this airplane belong in your hand?
Start there. Some airplanes are built for hand launching. Others are heavy, slippery underneath, or have a propeller right where your hand needs to go. Taking the landing gear off doesn’t solve any of those problems.
Look at the airplane’s instructions before you decide how to launch it. You need to know where to hold it, how much power to use, which rates and flight mode to select, and what attitude it should leave your hand in. A little foam airplane and a fast sport model can need very different launches.
If the airplane can take off from a runway and that gives you a better first flight, use the runway. There’s no prize for making the maiden harder. The takeoff guide covers that routine. If you’re also learning to fly, get an instructor involved. Trying to learn the launch and the flying at the same time gives you a lot to figure out in about two seconds.
Look past the end of your arm
You want a clear path into the wind, with room for the airplane to gain speed and climb. Check for people, fences, tall grass, crops, and parked models. Make sure your arm won’t hit anything either. At a shared field, check the traffic and announce what you’re doing.
A steady breeze can help with airspeed. A gust that rolls the airplane as you release it is a different matter. If you need a strong wind just to make the launch seem possible, take another look at the airplane and the plan. Use the wind and crosswind guide to help judge the conditions.
It still needs a full preflight
Do the normal preflight checks: correct model memory, control direction, radio range, failsafe, and a power system that’s working properly. Check the CG with the flight battery and equipment installed, and make sure the battery cannot slide around when you throw the airplane.
Use the recommended control throws and starting trim. Don’t dial in a bunch of up elevator because you’re worried about the ground. That can leave you with an airplane trying to climb before it has the speed to do it.
Make sure the part you’re holding stays attached
Tommy built a foam F-4 with a handle underneath for launching. It was a difficult airplane to get hold of otherwise—flat underneath, without much to grab. On one of my attempts, that handle stayed in my hand. The rest of the airplane didn’t.
There was more going on with that launch, and we’ll get to the throttle in a minute. But having a handle doesn’t do you much good if it comes off. Check the handle, finger holes, or whatever the manufacturer provides, along with the structure around it. Look for cracks, loose glue joints, or movement. Don’t assume a hatch or a convenient foam edge is strong enough just because your fingers fit there.
Practice the hold and release with the motor disabled or the engine stopped. You should be able to support the airplane without crushing it, moving a control surface, or twisting a wing. If it’s awkward now, it won’t get easier with the power on.
Think about where your hand goes after release
- Propeller in front: Keep your hand, clothing, and transmitter strap clear of the propeller through the whole motion. Be ready for the pull when power comes up.
- Pusher propeller: The propeller is coming past you as the airplane leaves. Check the complete path of your fingers and forearm, and use the launch method specified for that model. An overhead throw that works on another airplane may be dangerous here.
- EDF: Keep fingers and loose objects away from the intake, and stay clear of the exhaust. Use the intended grip points. Having the fan inside the airplane doesn’t make it harmless.
Talk about the throttle before anybody moves it
On that F-4 launch, the throttle came up before I was ready. The airplane pivoted around the point where I was holding it, the handle detached, and the flight was very short. We hadn’t worked out the procedure well enough before we started.
At one point, two of my three attempts at launching airplanes for Tommy had ended badly. We can laugh about it afterward, but there’s a useful lesson there: the pilot being ready doesn’t mean the launcher is ready.
Before starting, agree on the grip, power setting, and release cue. Is the airplane leaving on “three,” or are you counting down and saying “launch”? Either can work. You just need the same answer. Agree that either person can call “abort,” too.
The launcher should confirm a secure hold before the pilot brings the power up. Then confirm again before release. If the airplane is pulling harder than expected or the grip doesn’t feel right, stop. You haven’t launched yet. You can still fix the problem on the ground.
How much power?
Use the setting specified for that airplane. Full throttle is right for some models. Others call for a different sequence. A motor-off toss followed by power can work with certain lightweight airplanes, but it can leave another model without enough speed or height. Don’t copy what worked for somebody’s foamie and assume it applies to your jet.
The same goes for nitro. In the photo, Daniel is launching Dave’s nitro-powered SIG Wonder while Dave stays on the transmitter. With an engine running, the launcher has to be comfortable holding the airplane at the agreed power setting, clear of both the propeller and hot exhaust.
Start and tune the engine with proper restraint, and check that it picks up cleanly when you advance the throttle. If it hesitates, sort that out before launching. Our glow-engine starting and tuning guide goes through the preparation. If you need to change an unsafe handling arrangement, shut the engine down first.
Give it a clean departure
For an unfamiliar airplane, I’d have an experienced helper launch while the pilot concentrates on flying. Once you’ve checked the airplane and agreed on the sequence, keep it simple:
- Get your footing. Stand where you have a clear arm path and the pilot can see the airplane. Don’t add a running start unless the model’s instructions call for it and you have a suitable place to do it.
- Check that you’re both ready. The launcher confirms the hold. The pilot selects the right flight mode and brings the power to the agreed setting. Confirm readiness again.
- Release on the agreed cue. For a normal forward launch, keep the wings level and guide the airplane along the flight path specified in its instructions. Give it the forward motion it needs without a last-second twist of your wrist.
- Fly it as soon as it leaves. Make the corrections needed to keep it under control, let it gain speed, and establish a sensible climb. The launcher should stay out of the pilot’s view.
- Give it some altitude before turning. Keep the airplane clear of people and obstacles. If it needs a major correction, concentrate on control and getting it down safely rather than carrying on with the planned flight.
You’re guiding it into flight, so avoid swinging your arm through a big baseball-throwing arc. That can pull the nose down at release. Throwing sharply upward can create the opposite problem: the airplane is nose-high, losing speed, and very close to the ground.
Also, “wings level” means the airplane isn’t banked. It doesn’t tell you the exact nose angle. Some models want a nearly level departure; others need a modest nose-up attitude. Follow the instructions for yours. The Wonder photo catches one moment in a launch, so don’t use it as an angle to copy for every airplane.
Launching it yourself gives you one more job
I had a bad throw with my FMS F-18 that nearly put it in the weeds. The launch assist helped keep it flying while I got my hand back to the transmitter and added elevator. It stayed off the ground, but it was close enough that we were already expecting a walk out to collect it.
That’s the awkward part of launching by yourself. The airplane is flying while one of your hands is still on its way back to the controls. It doesn’t wait for you to get comfortable.
If your model supports solo launching, rehearse with the motor disabled. Hold the transmitter securely; a suitable strap or tray may help, provided it stays clear of the propeller and your throwing arm. Work out which hand holds what for your radio mode and the airplane’s approved grip. There isn’t one arrangement that fits everybody.
If you can’t release cleanly and get back on the controls without fumbling, get a helper or use another approved launch method. Especially on a maiden, I’d rather remove that extra job.
Launch assist helps, but check what you’ve actually got
I was glad to have it on that F-18. That doesn’t mean I want to keep giving it bad launches to rescue.
A properly set up launch mode can help with the first few moments of flight. It still needs an airplane with the right CG, working controls, and enough airspeed. A gyro-equipped receiver doesn’t necessarily have hand-launch assist, and ordinary stabilization isn’t the same thing as self-leveling.
Check how your system activates, what it does during launch, and how it exits. Verify the receiver orientation and that its corrections move the controls in the right direction. Follow the initialization instructions, and practice finding the switches with the motor disabled. The AS3X, SAFE, and gyro setup guide covers those basics.
The ElectroStreak manual, for example, explains the launch-assist setup for its BNF Basic version. Use that kind of model-specific information instead of copying somebody else’s settings.
If it goes wrong, figure out why before the next throw
After a bad launch, it’s tempting to pick the airplane up and give it another try. Stop the motor or engine and inspect it first. Check the propeller, mounts, airframe, battery, receiver attachment, and controls. Even a short trip into the grass can loosen something.
Then think about what you saw. These are starting points for checking, not automatic diagnoses:
- Nose up, then a drop: Check for a steep release, too much elevator, inadequate airspeed, or an aft CG. Pulling harder on a stalled airplane won’t fix it.
- Straight toward the ground: Check the release angle, elevator direction, trim, CG, and launch power. Think about whether your throwing motion pointed the nose down.
- A sharp roll: Look for a twisted release, uneven grip, incorrect controls, low-speed torque effects, or a stabilization problem. It isn’t always the motor’s fault.
- No acceleration: Check battery or engine performance, propeller installation, weight, and the launch power setting. A harder throw won’t repair the power system.
- Rapid rocking or oscillation: Check gyro direction, gains, mounting, and mechanical play. The launch may have been fine and the setup may still need attention.
Before release, either person can call it off. After release, fly with the room and control you have. If an impact is unavoidable, reduce power rather than driving the propeller into the ground. Don’t try to catch a powered airplane that’s coming down.
One last check before you throw
- We’re using the launch method recommended for this airplane.
- The preflight is done, the CG is checked, and the battery is secure.
- The model memory, controls, rates, trim, and flight mode are correct.
- The grip is comfortable and the structure we’re holding is sound.
- Hands, clothing, and straps stay clear of the propeller or fan throughout the release.
- The wind, traffic, footing, and space ahead are suitable.
- We agree on the power setting, release cue, and abort call.
- The pilot is ready to fly immediately and knows where to land if necessary.
A good hand launch doesn’t need to be exciting. The airplane leaves your hand, flies away, and you get on with enjoying it. I’ve supplied enough of the other kind. I’m fine with a boring launch.
Keep working on the basics
- Takeoffs and the first climb
- Approaches, landings, and go-arounds
- Trimming and control setup
- Flying Skills Center
- Learning Library
Check the instructions for your airplane
For examples of manufacturer launch guidance, see the Conscendo 2.0m manual, ElectroStreak 1.1m manual, and SIG Wonder information. Use the current instructions for your exact airplane and radio setup.