
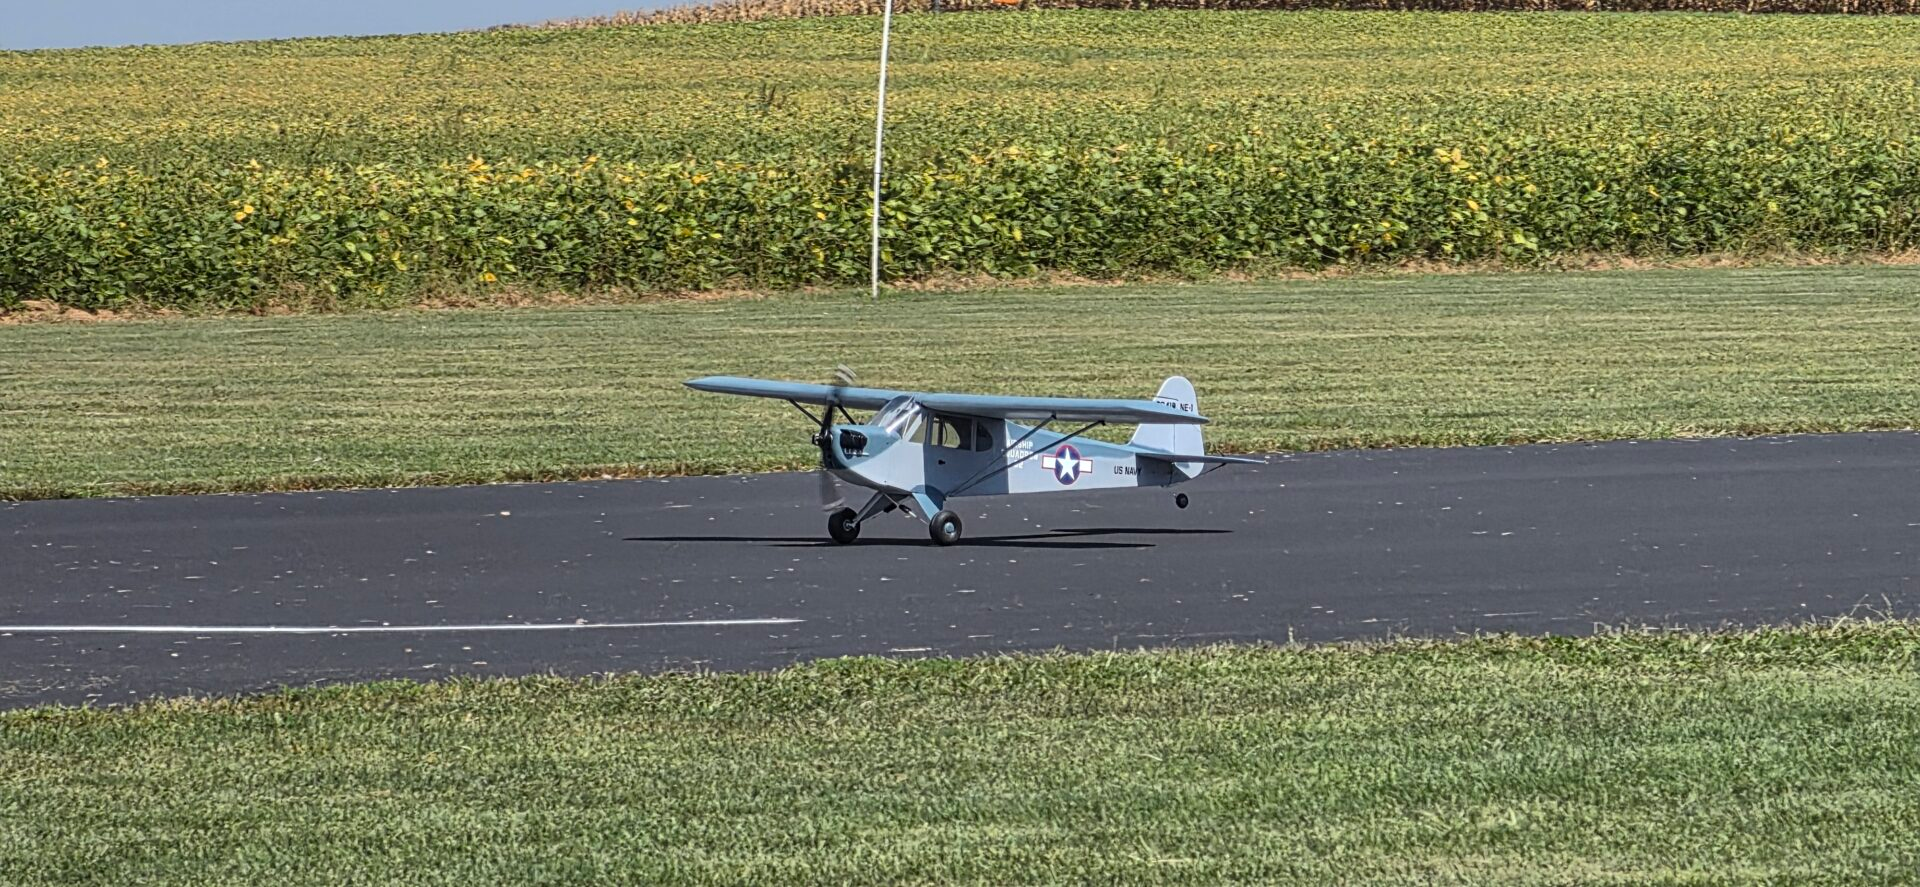
Part of the RC Airplane Flying Skills Center
A good takeoff should be one of the least exciting parts of the flight. The airplane rolls straight, gathers speed, lifts off when it is ready, and climbs away without making you chase it. If the takeoff is exciting, something probably got rushed.
The exact technique changes with the airplane, the landing gear, and the wind. A Cub on grass does not behave like a tricycle-gear trainer on pavement. But the basic job is always the same: keep the airplane under control while it builds enough airspeed to fly.
Do the thinking before the airplane is moving
Start with a complete preflight check. Confirm the correct model memory, control directions, rates, flight mode, and throttle cut. Check that the battery, receiver, fuel tank, and anything else inside the airplane cannot move during the takeoff or climb. If the airplane is new or has been repaired, check the center of gravity instead of relying on where the battery was last time.
That last part is not busywork. Dave rebuilt an airplane that we already knew and had flown many times. It looked good, taxied normally, and seemed ready. On the first takeoff after the rebuild, it rolled hard to the left and was upside down about three feet above the runway. A warped wing had escaped the inspection.
He repaired it again and caught the warped wing, but the next flight showed another problem: the airplane was badly tail-heavy. What should have been a familiar, tame airplane became a handful almost as soon as it left the ground.
The lesson is not that rebuilt airplanes are trouble. It is that a familiar airplane deserves a real preflight after a repair or change. Taxiing can tell you whether the wheels and steering work. It cannot prove that the wing is straight or the CG is right.
Read the wind and choose your direction
Take off into the wind when the runway and field layout allow it. The airplane then gets more airspeed over the wing for a given speed across the ground. Check the windsock or another reliable indicator, but also look at what the wind is doing along the whole runway. Trees, buildings, and the edge of a cornfield can make the air near the ground different from the air above it.
Check the runway for people, airplanes, vehicles, holes, tall grass, and loose debris. Announce your takeoff at a shared field and make sure the pattern is clear. Decide where the airplane will go after liftoff and which direction the first turn will be. Also decide how much runway you are willing to use before you close the throttle and try again.
Line it up before adding power
Put the airplane on the centerline and point it straight down the runway. That sounds obvious, but starting at an angle means you are correcting before the takeoff has even begun.
Use rudder or nosewheel steering to control direction on the ground. The ailerons control bank. They matter in a crosswind, but moving the aileron stick is not a substitute for steering with the rudder. If you have not developed the rudder habit yet, practice taxiing and straight ground runs before committing to a takeoff.
Bring the power up smoothly
Advance the throttle in a controlled motion. You do not need to sneak it up one click at a time, but slamming straight to full power can give the airplane a strong swing before the rudder has enough airflow to work well. Cubs and other taildraggers can make this especially obvious, although any propeller-driven airplane can be affected.
Watch the airplane, not just the end of the runway. Is it accelerating normally? Is it holding direction? Are the wheels bouncing? Does the engine sound clean? With an electric model, does the power feel like what you expected from the battery and propeller? A takeoff roll is not the time to convince yourself that an odd sound or weak acceleration is probably fine.
A long ground roll is not automatically more realistic or more gentle. We have flown an airplane with large, soft tundra tires that became badly out of balance. During an extended roll, the wheels could bounce through an arc of several inches and even work loose from the rims. The airplane could leave the ground in a very short distance, so holding it down for a prettier takeoff only gave the bad wheels more time to cause trouble.
Let the airplane tell you what it needs. Build enough speed for a clean takeoff, but do not keep a capable airplane on the ground just because you planned a long roll.
Let it fly off instead of pulling it off
As the airplane reaches flying speed, add a small, smooth amount of up elevator. You are asking it to leave the ground, not jerking it into the air. If you pull too hard while the wing is still short on airspeed, the airplane can climb a few feet, stall, and roll before you have room to recover.
Once it is airborne, lower the nose enough to let it keep accelerating and establish a sensible climb. A steep angle may look powerful, but it spends airspeed quickly. Keep the wings level, correct any drift, and give yourself some altitude before making the first turn. Keep that turn away from people and keep the airplane in front of the flightline.
Do not start trimming during the first few feet of flight. Fly the airplane first. Get to a safe altitude, settle into the pattern, and then make small trim changes. If it needs a large amount of correction just to stay in the air, concentrate on bringing it around safely.
Taildraggers and tricycle-gear airplanes
A tricycle-gear airplane sits on two main wheels and a nosewheel. The nosewheel usually gives positive steering early in the roll. Keep it tracking straight, let speed build, and rotate smoothly when the airplane is ready.
A taildragger sits on its main wheels and a tailwheel. Propeller effects, crosswind, and the changing position of the tail during the roll can make it more active on the ground. Use the elevator technique recommended for your airplane. Many taildraggers start with some up elevator to keep the tailwheel effective, then ease toward neutral as speed builds and the tail comes up. Holding full up through the whole roll can force the airplane off before it is ready.
Stay ahead of a taildragger with small rudder corrections. Waiting until it is pointed toward the edge of the runway usually leads to a much bigger correction, then another one in the opposite direction. If it starts a ground loop, close the throttle. More power does not make a poor ground track safer.
Use both rudder and aileron in a crosswind
With a crosswind, hold aileron into the wind at the start of the roll. That helps keep the upwind wing from lifting. Reduce the amount as the controls become more effective, while using rudder to hold the runway direction.
Be ready for the airplane to drift once the wheels leave the ground. Establish a controlled climb and correct the wind drift without making a steep, low turn. If the wind is gusty, nearly across the runway, or more than you are comfortable handling, waiting is a perfectly good flying decision. You do not have to prove anything to the windsock.
Our wind and crosswind guide goes deeper into judging conditions and flying the pattern when the wind is not lined up with the runway.
Close the throttle while the decision is still easy
If the airplane turns sharply, bounces badly, does not accelerate, develops a control problem, or simply looks wrong, close the throttle while you still have runway. Do not force it into the air because it is already moving.
I would much rather taxi back, find the problem, and make another attempt than watch an airplane get airborne in a condition I already knew was bad. Once it leaves the ground, every problem becomes more urgent.
After an aborted takeoff, bring the airplane back and inspect it. Check the landing gear, propeller, control surfaces, battery or fuel system, and anything that may have shifted. If it pulled to one side, use the takeoff-yaw diagnostic to work through the likely causes instead of adding a random trim change.
Taking off without a runway
From water
A floatplane has to push through the water, climb onto the step, and accelerate before it flies. Float alignment, wind, water rudder authority, elevator use, and waves all affect the run. The complete water-takeoff guide covers that process. Have a retrieval plan before the airplane touches the water; the boat of shame is much more useful when it is ready.
By hand
A hand-launched airplane still needs the right speed, attitude, and direction. The difference is that the runway is somebody’s arm. Use our hand-launching guide to choose a safe grip, coordinate the throttle and release, and avoid the mistakes I have made while launching airplanes for other people.
One last check before takeoff
- The correct model memory, rates, trim, and flight mode are selected.
- The controls move in the correct direction and the throttle cut works.
- The battery, receiver, fuel tank, and hatches are secure.
- The CG and airframe have been checked, especially after repairs or changes.
- The wind and runway direction make sense for this airplane.
- The runway and traffic are clear, and the takeoff has been announced.
- The airplane is lined up straight.
- I know where I will abort if the roll does not look right.
- I will use rudder for direction, add power smoothly, and rotate without forcing it.
- I will build speed and altitude before the first turn.
The goal is a boring takeoff. Keep it straight, let the wing do its job, and save the excitement for when the airplane is high enough to enjoy it.