
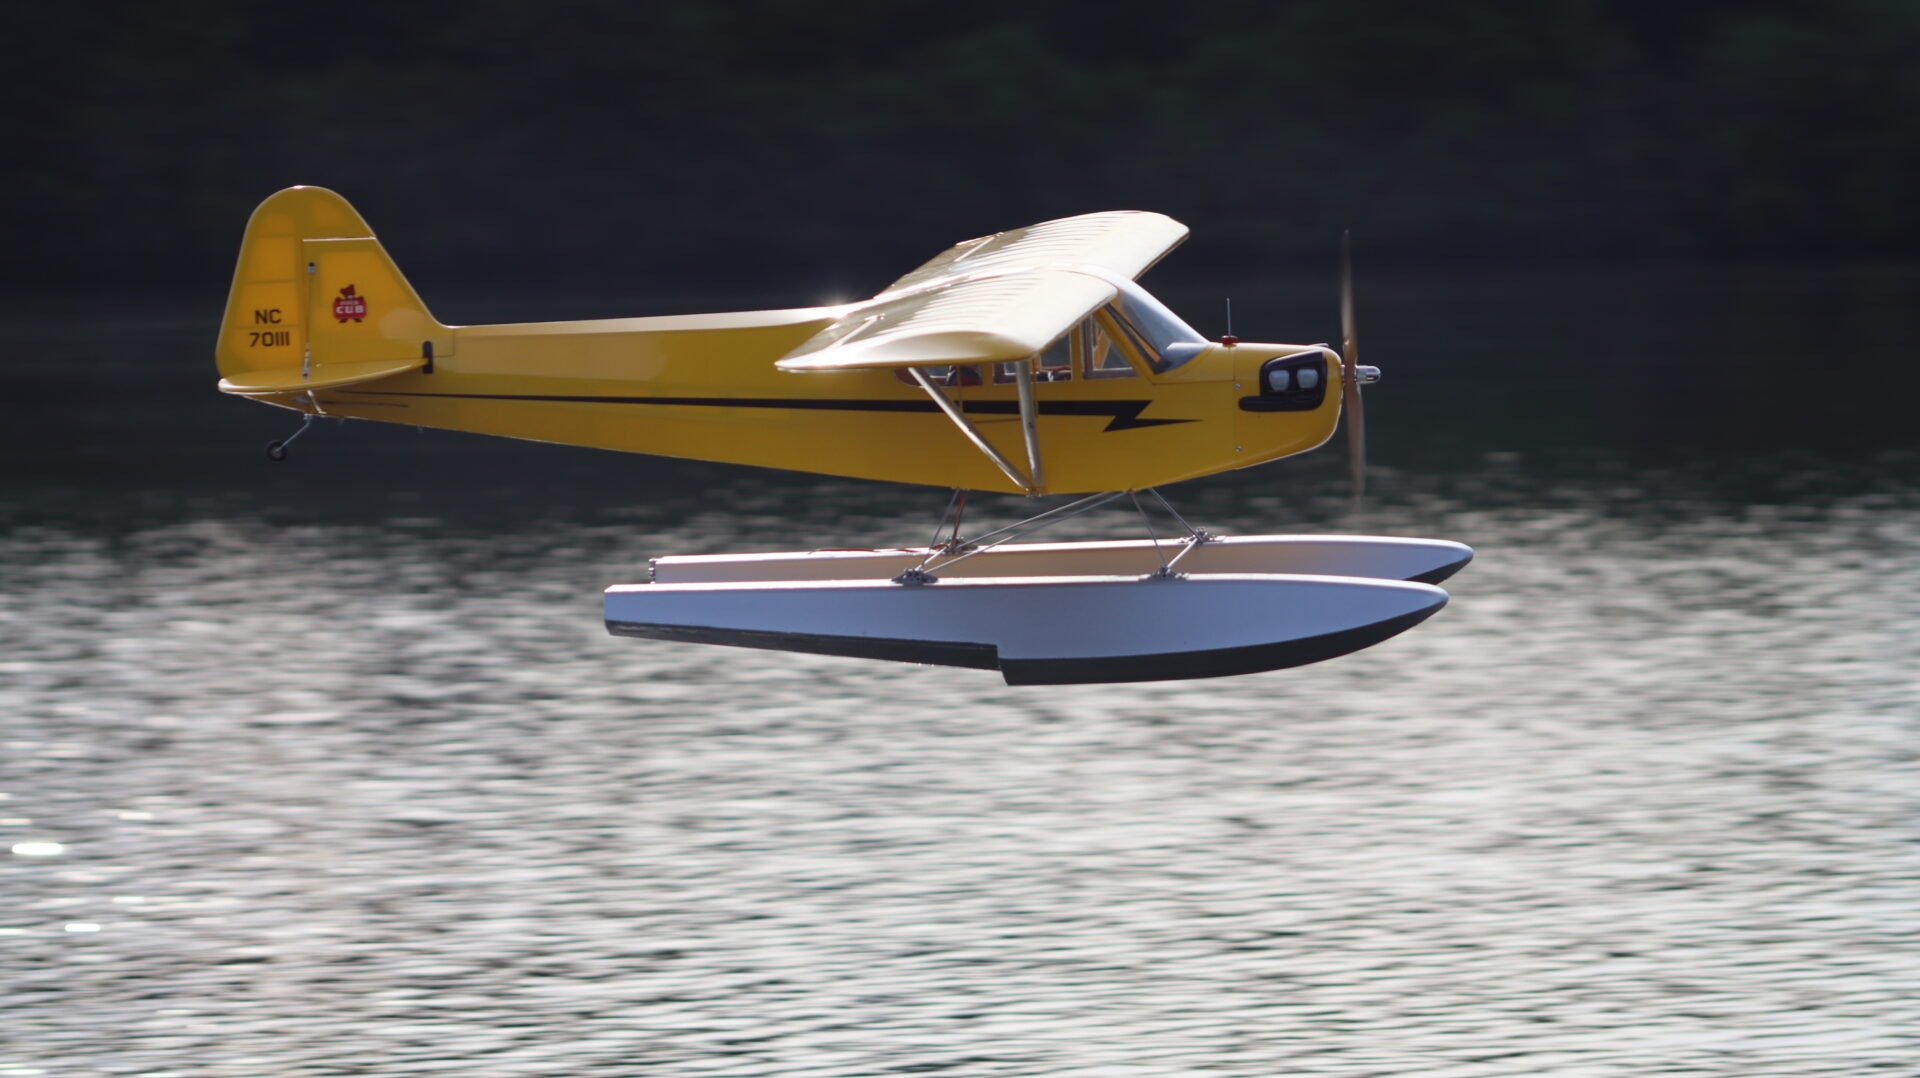
Part of the RC Airplane Flying Skills Center
There is something about flying off water that makes me want to slow down and enjoy it. Taxi out, line up, watch the floats come up on the surface, and let the airplane fly away. Then bring it around and see how smoothly you can put it back down. I can have a lot of fun doing that without ever flying a loop.
Joe Nall is where I got hooked on it. The lake, the reflections, and a bunch of people enjoying airplanes make a pretty good combination. But the relaxing part comes after the preparation. You need an airplane that is set up for floats, a sensible place to fly, and a way to get it back when taxiing home is no longer an option.
This guide covers conventional RC airplanes on two floats. Flying boats share many of the same operating concerns, but their hull setup is different. Be comfortable with ordinary takeoffs, approaches, landings, and go-arounds before adding water to the equation. An experienced float pilot beside you is worth a lot on the first outing.

Choose the water—and a way to get the airplane back
Look at the whole site, not just the open water. Can you take off into the wind without pointing toward people? Is there a clear approach and a safe place to go around? Can you see the airplane against the far bank? Are there boats, swimmers, fishing lines, weeds, logs, or shallow areas in the operating area? Get the landowner’s permission and follow the site’s flightline and operating rules.
A light, steady breeze and small ripples are a good starting point. Wind blowing away from your bank can carry a disabled airplane out surprisingly quickly. Wind blowing toward you can help bring it back, but it may also put waves on your launch area. Watch the water beyond the sheltered edge: a quiet patch beside the bank can hide rougher conditions farther out. Use the wind and crosswind guide when judging the air above it.
Have the retrieval equipment ready, not just an idea
My first question is simple: if the motor quits out there, what am I going to do? A suitable retrieval boat with a capable operator is a real answer. A purpose-built RC rescue boat can work within its demonstrated range and towing capability. A long pole can handle an airplane within safe reach of shore. Hoping it drifts back is not a plan.
Know who operates the boat, where the paddle is, whether its battery is charged, and whether it can handle the wind. Wear an appropriate life jacket when using it. Do not swim after a model or enter deep, cold, fast-moving, or uncertain water. A recovery attempt should never become a person needing rescue. AMA’s float-flying guidance makes the same point about having a retrieval method and avoiding swimming after models.
Getting the airplane into the water counts as part of the setup
It is easy to get excited about the airplane and forget the last six feet between the grass and the lake. A steep bank, slick mud, rocks, or a drop-off can turn a simple launch into an awkward balancing act. Decide where you will launch and where you will pick up the airplane before powering it up.
A low dock, a safe shallow edge, or a helper can make this much easier. Waterproof boots are handy when you need to step into known, shallow water. They do not make a slippery bank or deep water safe. Keep your footing, keep the transmitter dry, and never lean into a live propeller to save your shoes.
For electric models, use the prescribed arming sequence and a tested throttle cut. Keep propulsion disabled while carrying and lowering the airplane; arm only when everyone is clear. With a running glow or gas model, use a secure starting restraint and a deliberate handoff with an experienced helper, keeping hands and clothing behind and clear of the propeller. If the launch cannot be done safely, shut it down and change the arrangement.


Floats change the airplane: check the structure, CG, and handling
Start with an airplane and float combination the manufacturer supports when possible. Match float buoyancy to the airplane’s complete flying weight. Check the struts, brackets, bracing, propeller clearance, float alignment, and water-rudder linkage against the installation instructions. The mounts have to withstand water loads as well as hold the airplane on a stand.
The step is the break in the underside of a float. It helps the float release water as the airplane transitions from pushing through the water to planing on the surface. Step position and float angle matter. Follow the model’s specified geometry; do not fix a poor installation by moving the airplane’s CG outside its recommended range. AMA’s float-installation article is useful background for understanding the geometry of a conversion.
Rebalance the complete airplane
Do not assume the battery goes in the same spot it did with wheels. Balance with the floats, struts, water-rudder hardware, and actual flight battery installed, using the fuel condition your manual specifies for an engine-powered model. Check lateral balance too. The correct flight CG is a measurement on the airplane, not whether it looks level while sitting on the lake.
The Hangar 9 J-3 Cub manual specifically notes that nose weight may be needed with floats. That does not mean every floatplane needs nose weight or a universal CG shift. Measure yours and use the manufacturer’s starting point. Our CG and balancing guide walks through the basic procedure.
Water in one float is an added weight you did not balance for. It can change both the overall weight and side-to-side balance, and loose water can move around. If one float rides lower or the airplane suddenly feels different, stop and investigate. Do not try to trim away a leak.
What will feel different in the air?
- More weight: For the same wing and configuration, added weight raises the lift required and generally increases stall speed. Do not assume the old slow-flight margin still applies.
- More drag: Expect to need more power for the same flight path, with less climb performance or shorter endurance. Establish a conservative timer again.
- Different trim and response: Floats change mass distribution and aerodynamic forces. Pitch response to throttle, yaw behavior, and rolling response may change. They do not automatically make the airplane stable just because they hang below it.
- Different ground handling: There are no wheel brakes, and wind can turn or drift the airplane even at idle. A float catching the water in a sideways turn can stop that side abruptly.
Treat the first float flight like a changed-airplane test flight. Climb to a comfortable height, check trim, try gentle turns, and learn the approach power setting before coming down. Review trimming and control setup if the airplane needs more than a small adjustment.
Electric vs. nitro vs. gasoline on floats
All three can work. I would pick the combination I can operate reliably and support at the lake. The airplane has to accelerate through water drag before it can fly, so a setup already struggling on wheels is not a promising float conversion.
| Power | What works well | What needs attention |
|---|---|---|
| Electric | Predictable throttle response, no starting equipment at the bank, and easy motor stopping. | Protect the battery, ESC, receiver, and connectors from spray. A stopped motor is still armed if the battery is connected. Allow energy for taxiing, another approach, and the return to shore. |
| Glow / nitro | A familiar, properly tuned glow model can be a very enjoyable floatplane. | Reliable idle and transition matter during taxiing. Plan safe starting, fuel handling, receiver power, and retrieval after a dead stick. Check for water contamination and follow the engine’s maintenance instructions. |
| Gasoline | A suitable engine can power a larger float model with useful endurance. | Include ignition and receiver batteries in the checks. Keep ignition components and fuel-system openings protected from spray as their instructions allow. Larger airplanes also need suitable carrying and retrieval equipment. |
My yellow Cub is the stock Hangar 9 J-3 Cub 10cc EP PNP. Its factory power system is a Spektrum Avian 4260-480Kv brushless motor and 70-amp Smart Lite ESC, confirmed in Hangar 9’s product documentation. It is electric; do not choose fuel or battery equipment based only on “10cc” in the name.
Use our electric, nitro, and gas comparison for the broader tradeoffs, the Electric Power System Center for electric setup, or the Fuel-Powered RC Airplanes Center for glow and gas setup.
Splash protection without trapping heat
Look for the route spray can take through hatches, wing joints, cooling openings, and wiring passages. Keep vulnerable electronics out of places where water collects. Use components and sealing methods suitable for water operation, but preserve required cooling and ventilation. Water-resistant does not mean safe to submerge. Check seams, float plugs, and access covers before the first launch and again after the first taxi test.
Learn to taxi before committing to a takeoff
Start close enough that you can recover the airplane easily. Check that a right-rudder command actually turns it right on the water. Use low power and wide, gentle turns. Many conventional float models use up elevator during slow taxiing to help keep the bows from digging in; follow your model’s instructions and watch its attitude.
Wind may make it eager to point into the breeze and reluctant to turn away. A water rudder helps at low speed, but it does not give unlimited authority. Do not keep adding speed to force a tight turn. Reduce power if a float starts burying or a wing starts lifting, and retrieve the airplane if you cannot control its return.
Follow the float instructions for water-rudder position and retraction, if fitted. Some arrangements clear the water as the airplane comes onto the step; others have a pilot-operated mechanism. Test the controls on shore so there are no surprises during the takeoff run.

How to take off from water
The basic idea is the same as our takeoff guide: build speed under control, then let the wing carry the airplane. On floats, there is an extra transition onto the step.
- Line up into the wind. Choose a clear lane with room to accelerate and room to stop. Announce your intentions at a shared flightline.
- Set the prescribed takeoff configuration. Confirm flaps, rates, steering, and flight mode before beginning. Use the model’s recommended elevator technique for the initial water run.
- Advance power smoothly. Correct direction with small rudder inputs. Watch the floats as well as the wings; excessive spray, a buried bow, or a sharp turn is a reason to stop.
- Let it come onto the step. The airplane rises and begins skimming instead of plowing. Ease the initial up-elevator input as appropriate so it can accelerate without dragging the rear of the floats.
- Lift off with a small, deliberate elevator input at flying speed. Do not yank it free. Establish a shallow, controlled climb and let it gain speed before turning.
This sequence follows the general float-flying technique in E-flite’s float manual; the elevator amount, flap setting, and rudder arrangement still belong to your particular model’s instructions.

If it will not get off the water, stop and find out why
Repeated long runs consume battery or fuel and leave less room to recover. Check flying weight, available power, float alignment, step position, incidence, and control setup. Excessive up elevator can hold it in a high-drag attitude. A nose-low attitude can drive the bows into the water. The answer is not automatically more elevator or a larger propeller.
If it starts porpoising—pitching up and down repeatedly—reduce power and stop the run while you still have control. Inspect and correct the cause on shore instead of chasing it with bigger stick movements. For a first outing, avoid experimenting with one-float takeoffs or high-speed turns.
How to land on water
Start with the same planned pattern described in our landing guide. Turn final with room to settle, line up into the wind, and keep the floats aligned with the direction of travel.
- Keep a sensible approach speed. Floats add drag and weight. Use power as needed to manage the descent rather than assuming it will glide like it did on wheels.
- Make a smooth flare close to the surface. Aim for a gentle, slightly nose-high arrival appropriate to the model. Avoid stabbing the bows into the water or holding it off until it stalls and drops.
- Touch down straight. Keep the wings level and avoid sideways contact. If a crosswind requires a touchdown technique beyond your experience, choose better conditions.
- Continue flying the deceleration. Reduce power, keep directional control, and apply the model’s appropriate up elevator as it settles into a slow taxi.
- Go around early when the approach is wrong. Do not force a steep correction near the water. After a hard bounce or a snagged float, assess the attitude and control available; blindly applying full power can worsen a nose-over.
A clean landing followed by a quiet taxi back is plenty satisfying. Save touch-and-go practice until you know how the airplane behaves, have adequate power reserve, and can identify a safe go-around before touchdown.
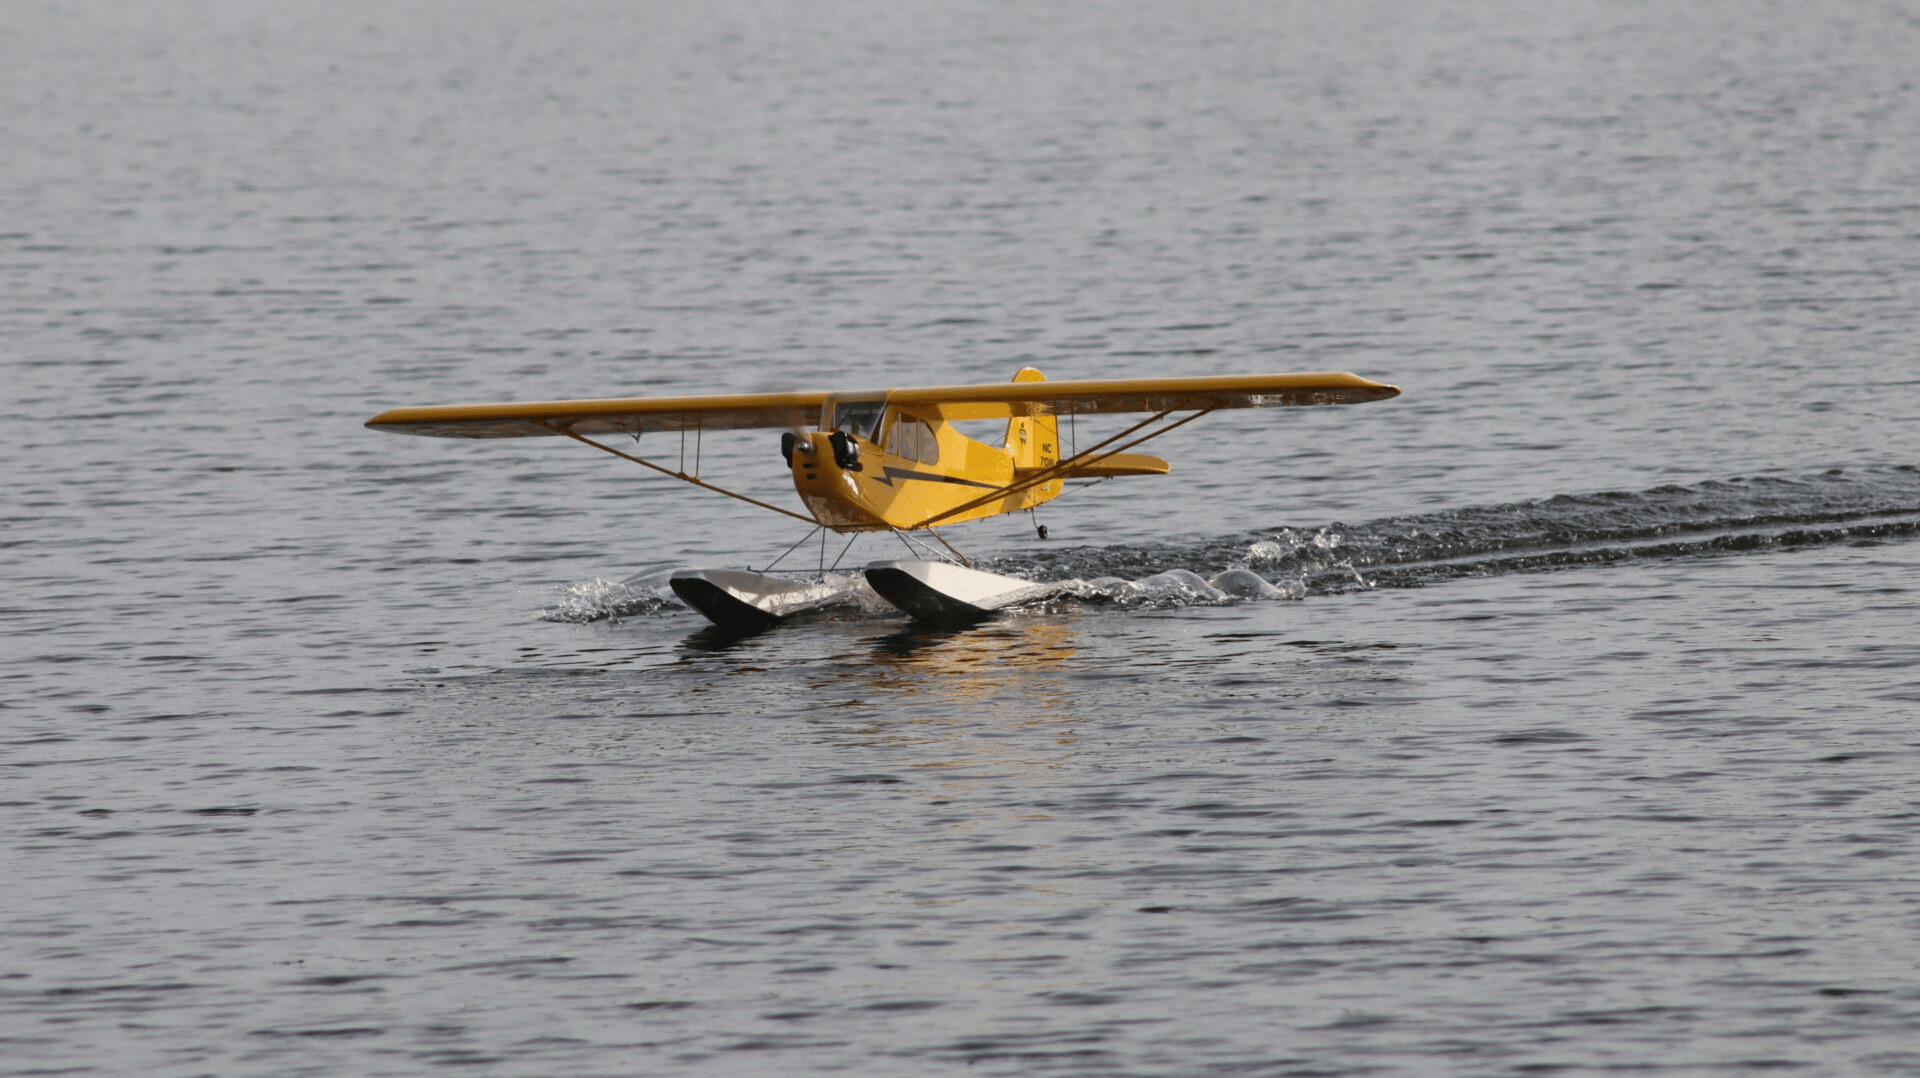
Glassy water is beautiful—and difficult to judge
Reflections can hide the actual surface. If you cannot judge your height, do not keep lowering the airplane in hope of finding it. Reposition, use a better visual background, or wait for improved conditions with an experienced float pilot. A predictable shallow approach is more useful than a last-second dive toward a guessed touchdown point. Glare and fading light can also make orientation difficult.
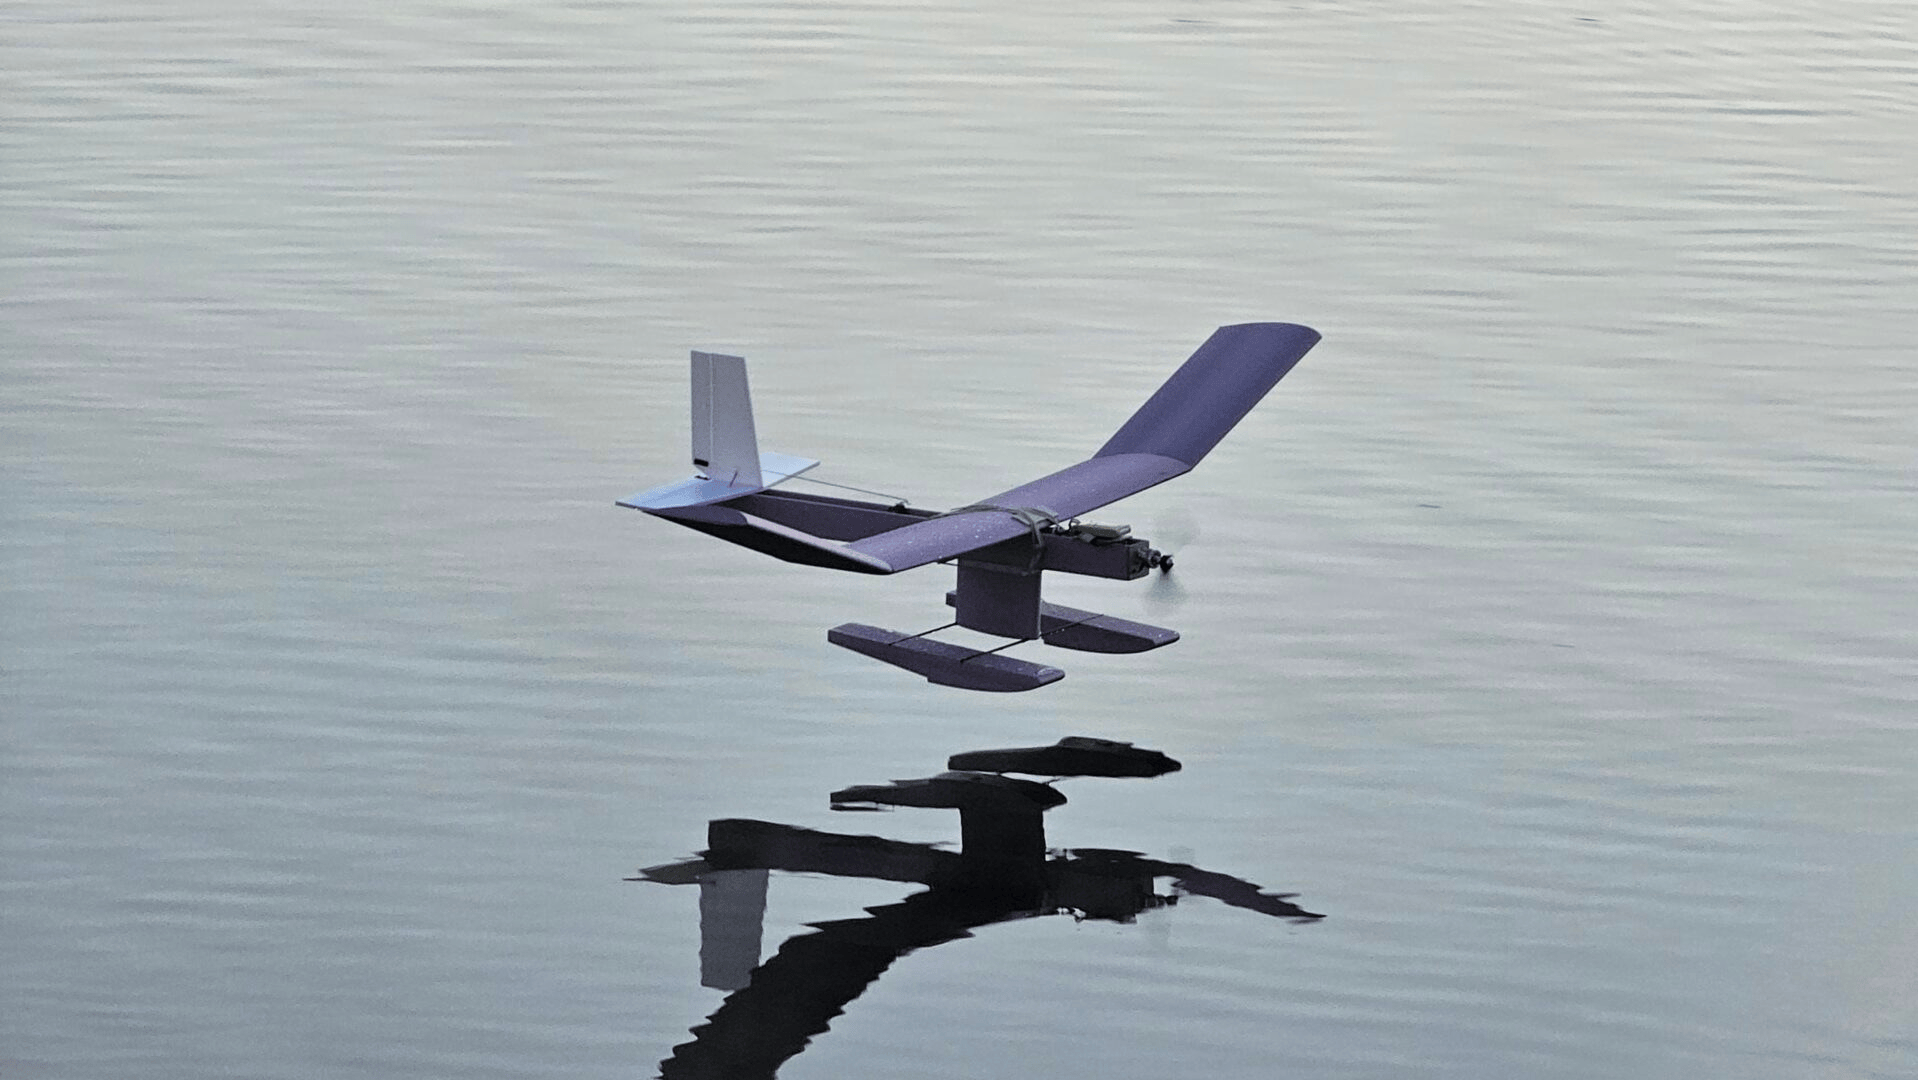
Yes, that is an E-flite Viper 90mm on floats
I put floats on an E-flite Viper 90mm, and Tommy flew it off the lake at Joe Nall. That was a fun project, but it belongs in the experienced-pilot experiment category. A conventional float-equipped trainer or sport airplane is a much more sensible place to learn.


We told the full story on the podcast. The first attempt included a sharp pitch-up after liftoff and switch confusion; Tommy suspected he selected reverse thrust while trying to switch off thrust vectoring. After repairs and a more deliberate plan, the next flight went much better. He also described the extra drag and the need for substantial power.
The useful lesson is to simplify and rehearse the controls before you need them. An unusual conversion can add several tasks at once. Know every switch by feel, test the configuration, and avoid a takeoff plan that depends on finding the right switch during a low-altitude surprise. An EDF’s air intake also needs particular attention around spray. Our successful flight is a story about that individual experiment, not a general recommendation to put floats on any jet.

After every flight—and after an unexpected swim
Get the airplane safely ashore, stop or disable propulsion, and disconnect the flight battery or secure the engine and ignition as appropriate before handling it. Check the float seams, plugs, struts, mounts, and inside of the fuselage. Drain any water using the intended drain points. A new leak or a hard landing ends the flying until you understand and fix it.
If electronics have been submerged, do not reconnect power just to see whether they still work. Follow the equipment manufacturer’s inspection and service advice; drying the outside is not proof that a receiver, servo, ESC, or battery is safe. Do not charge a wet or damaged LiPo. If it is hot, swollen, smoking, or otherwise distressed, keep people clear and follow the battery maker’s emergency guidance.
For a submerged glow or gas engine, disable ignition and do not crank it against possible water in the cylinder. Follow the engine maker’s water-removal and corrosion-prevention procedure before attempting a restart. Retrieve fuel containers and damaged parts and keep fuel out of the lake. Saltwater exposure needs particular care and manufacturer guidance; fresh water is the better place to begin.
Back at home, let the airframe dry thoroughly, check wood and joints for damage, and investigate any intermittent behavior. Recheck balance, control operation, failsafe, and range after repairs. A model that worked for a minute after getting wet has not earned a clean bill of health.
My lakeside checklist
Use this in addition to the complete RC airplane preflight checklist.
- Permission, operating area, wind, water surface, visibility, and traffic checked.
- Clear takeoff lane, approach, go-around, launch point, and pickup point chosen.
- Retrieval method ready and usable in the current conditions.
- Safe footing, waterproof boots if needed, and a helper for an awkward launch.
- Floats and mounts secure, aligned, and leak-free; propeller clearance checked.
- CG checked with the complete float installation and flight equipment.
- Water rudder and all flight controls move correctly; cut, modes, and switches verified.
- Electronics protected from spray without compromising cooling.
- Battery or fuel reserve includes taxiing, a go-around, and getting back.
- Short taxi test completed; airplane inspected again before committing to flight.
More from our days at the water
The Cub and Viper are only part of the fun. These photos show the variety of airplanes, launches, and quiet moments that keep us coming back. Select a photo to see the larger version.


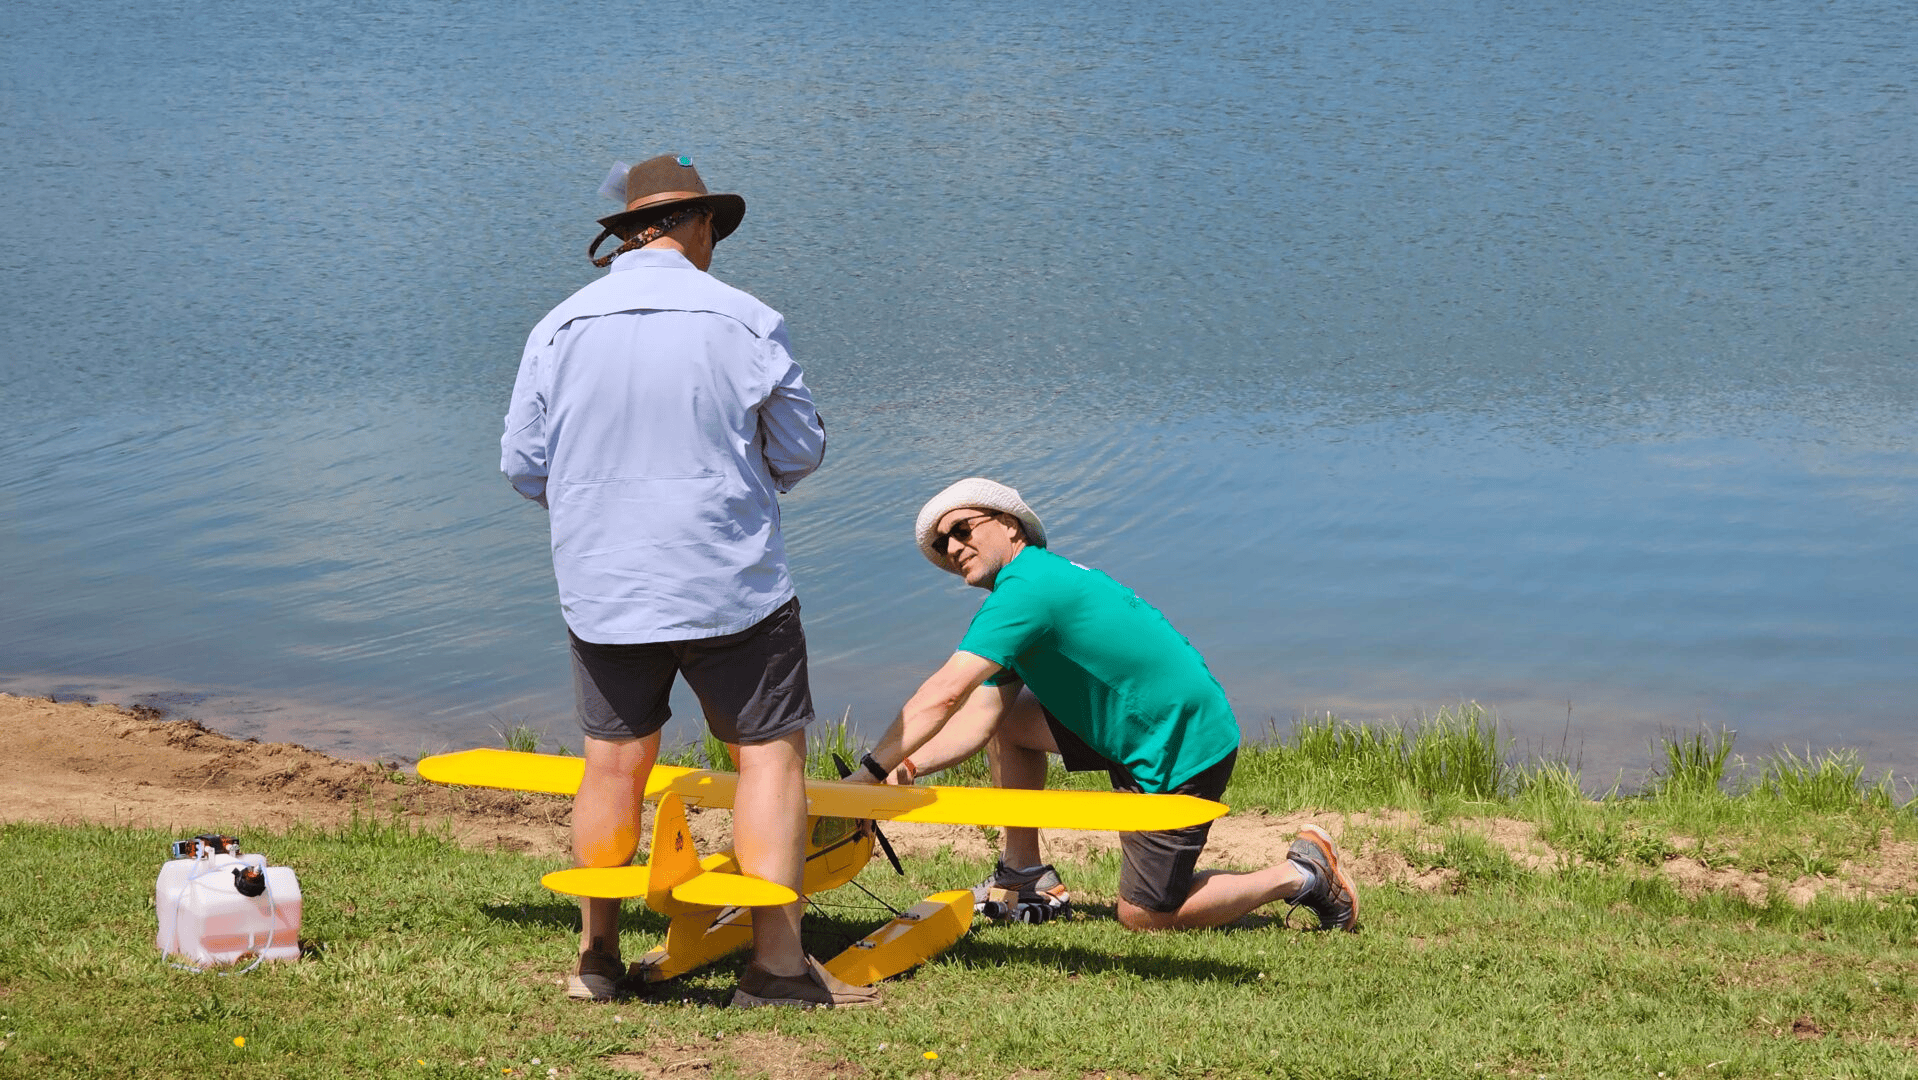
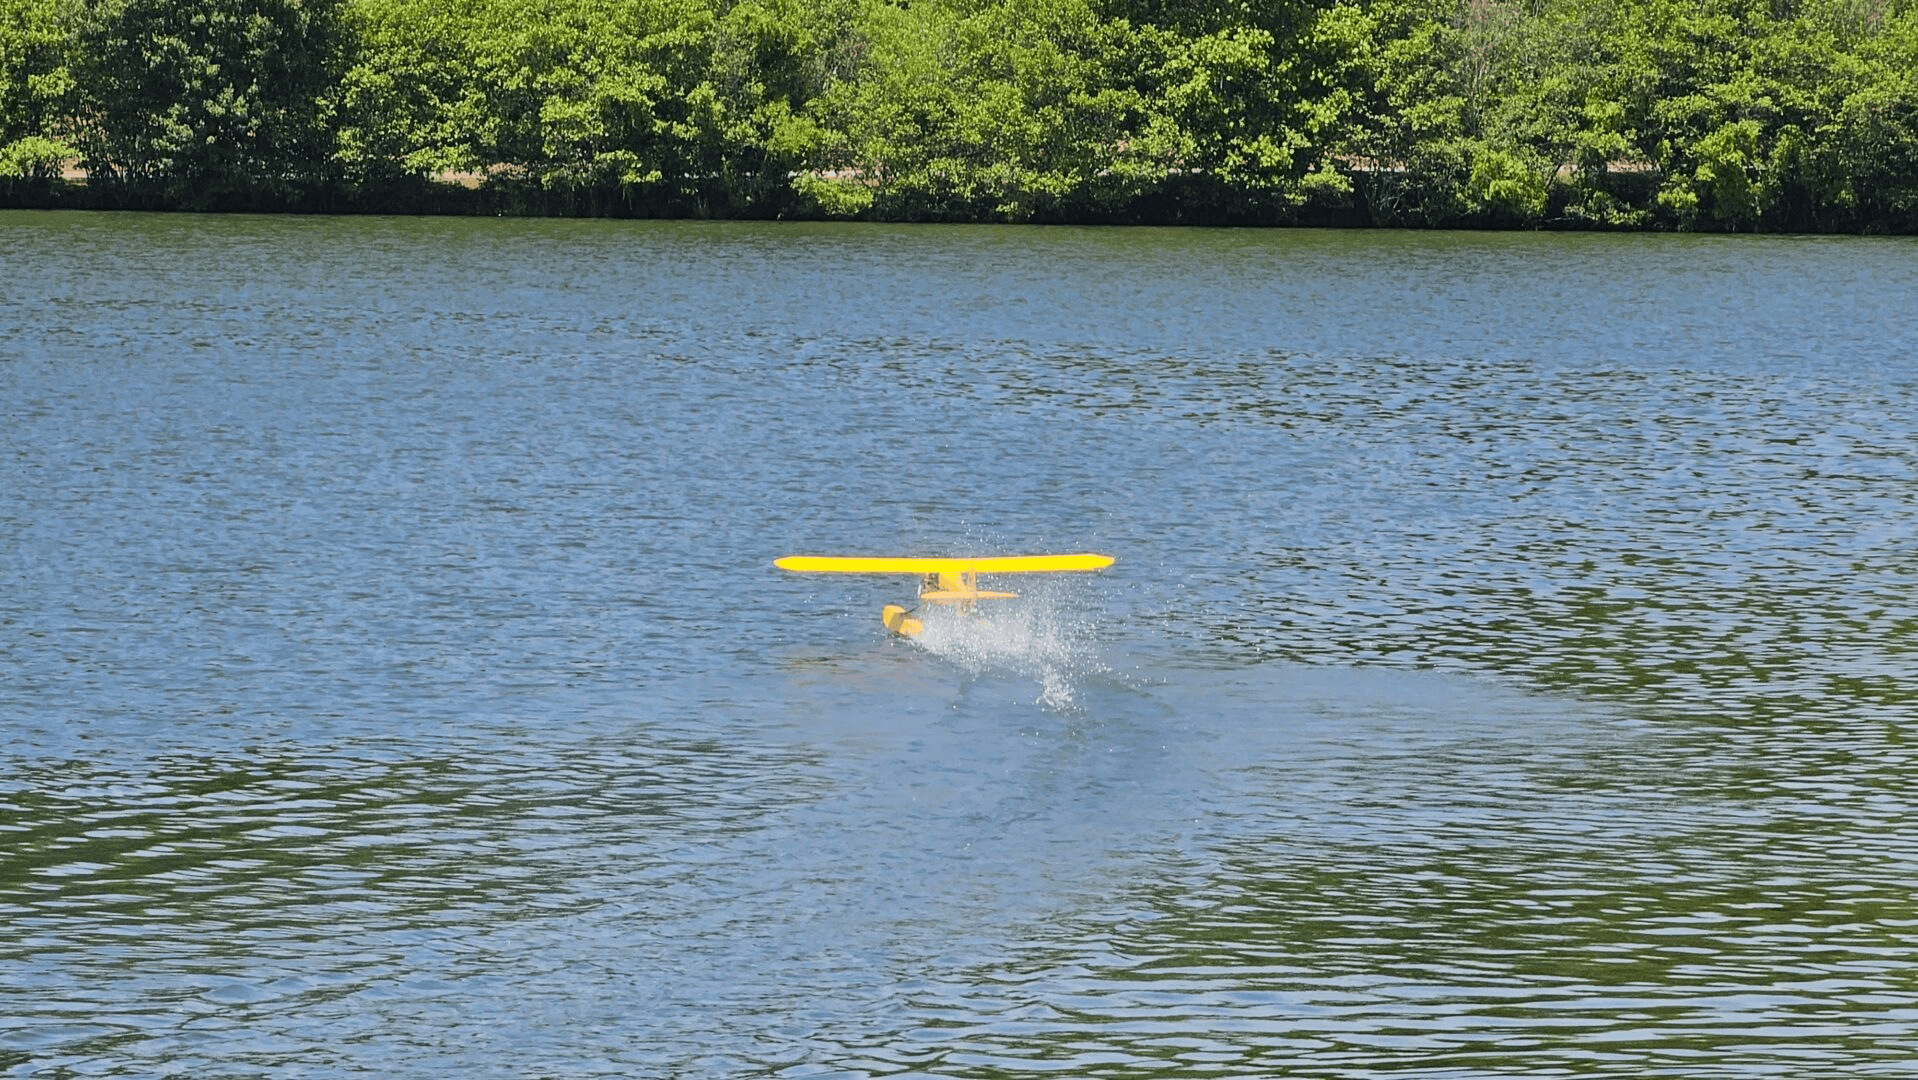
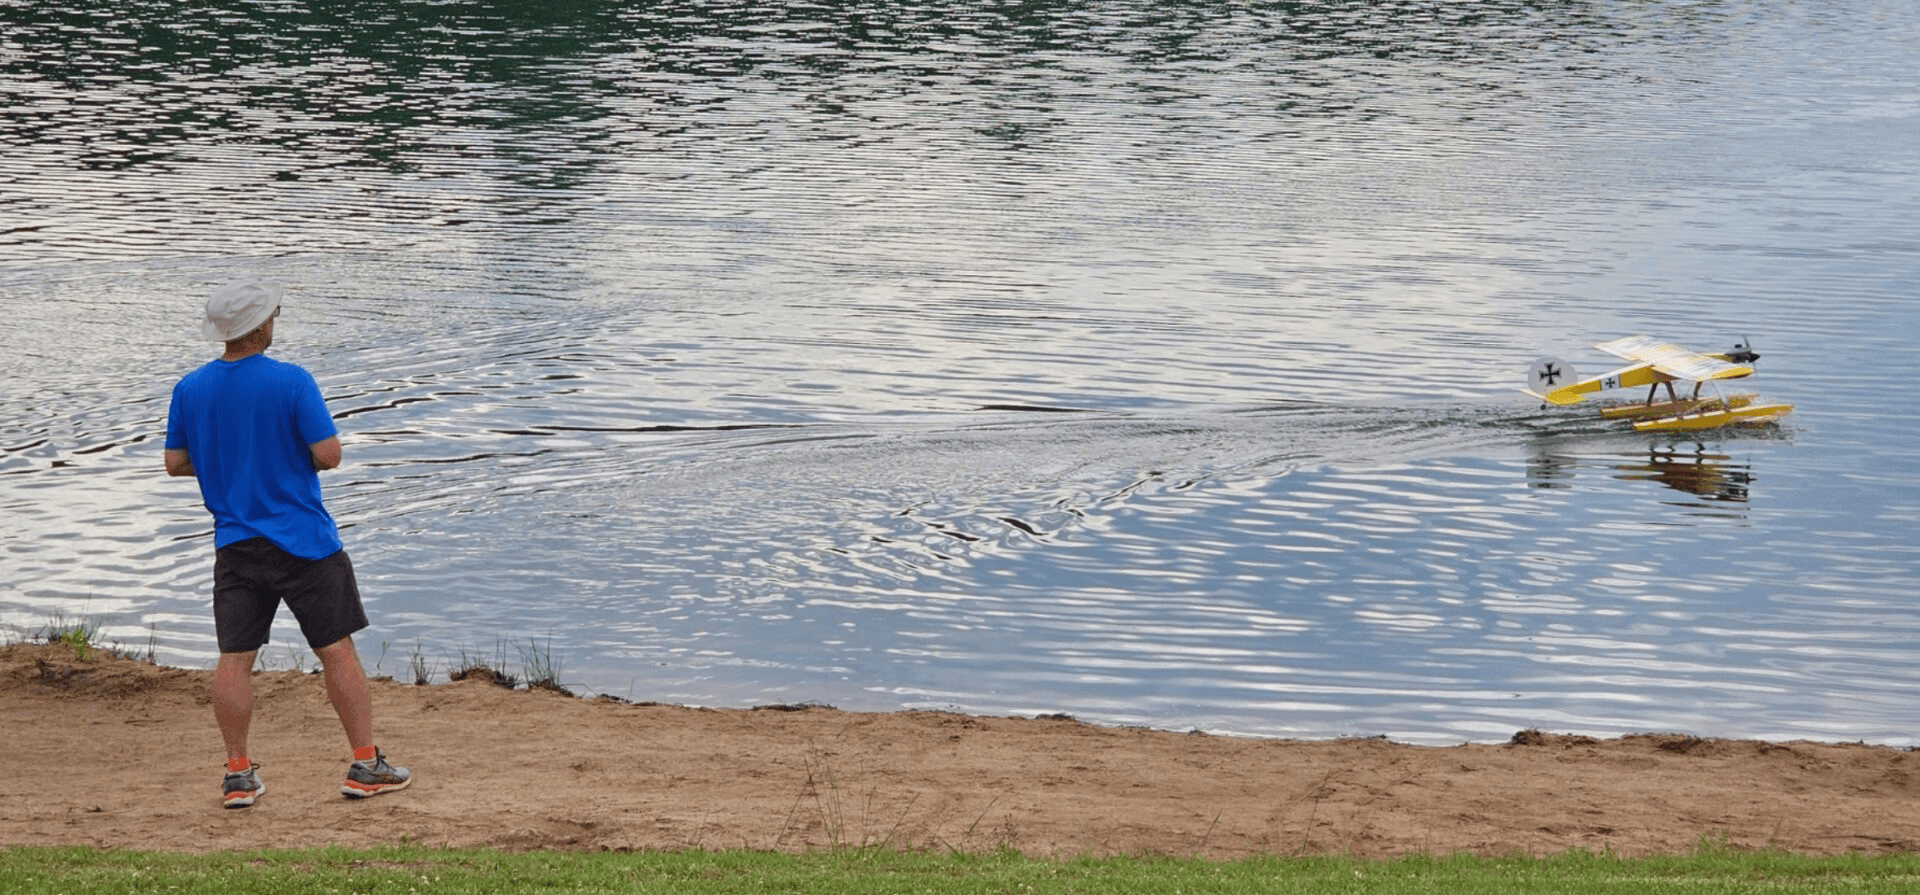


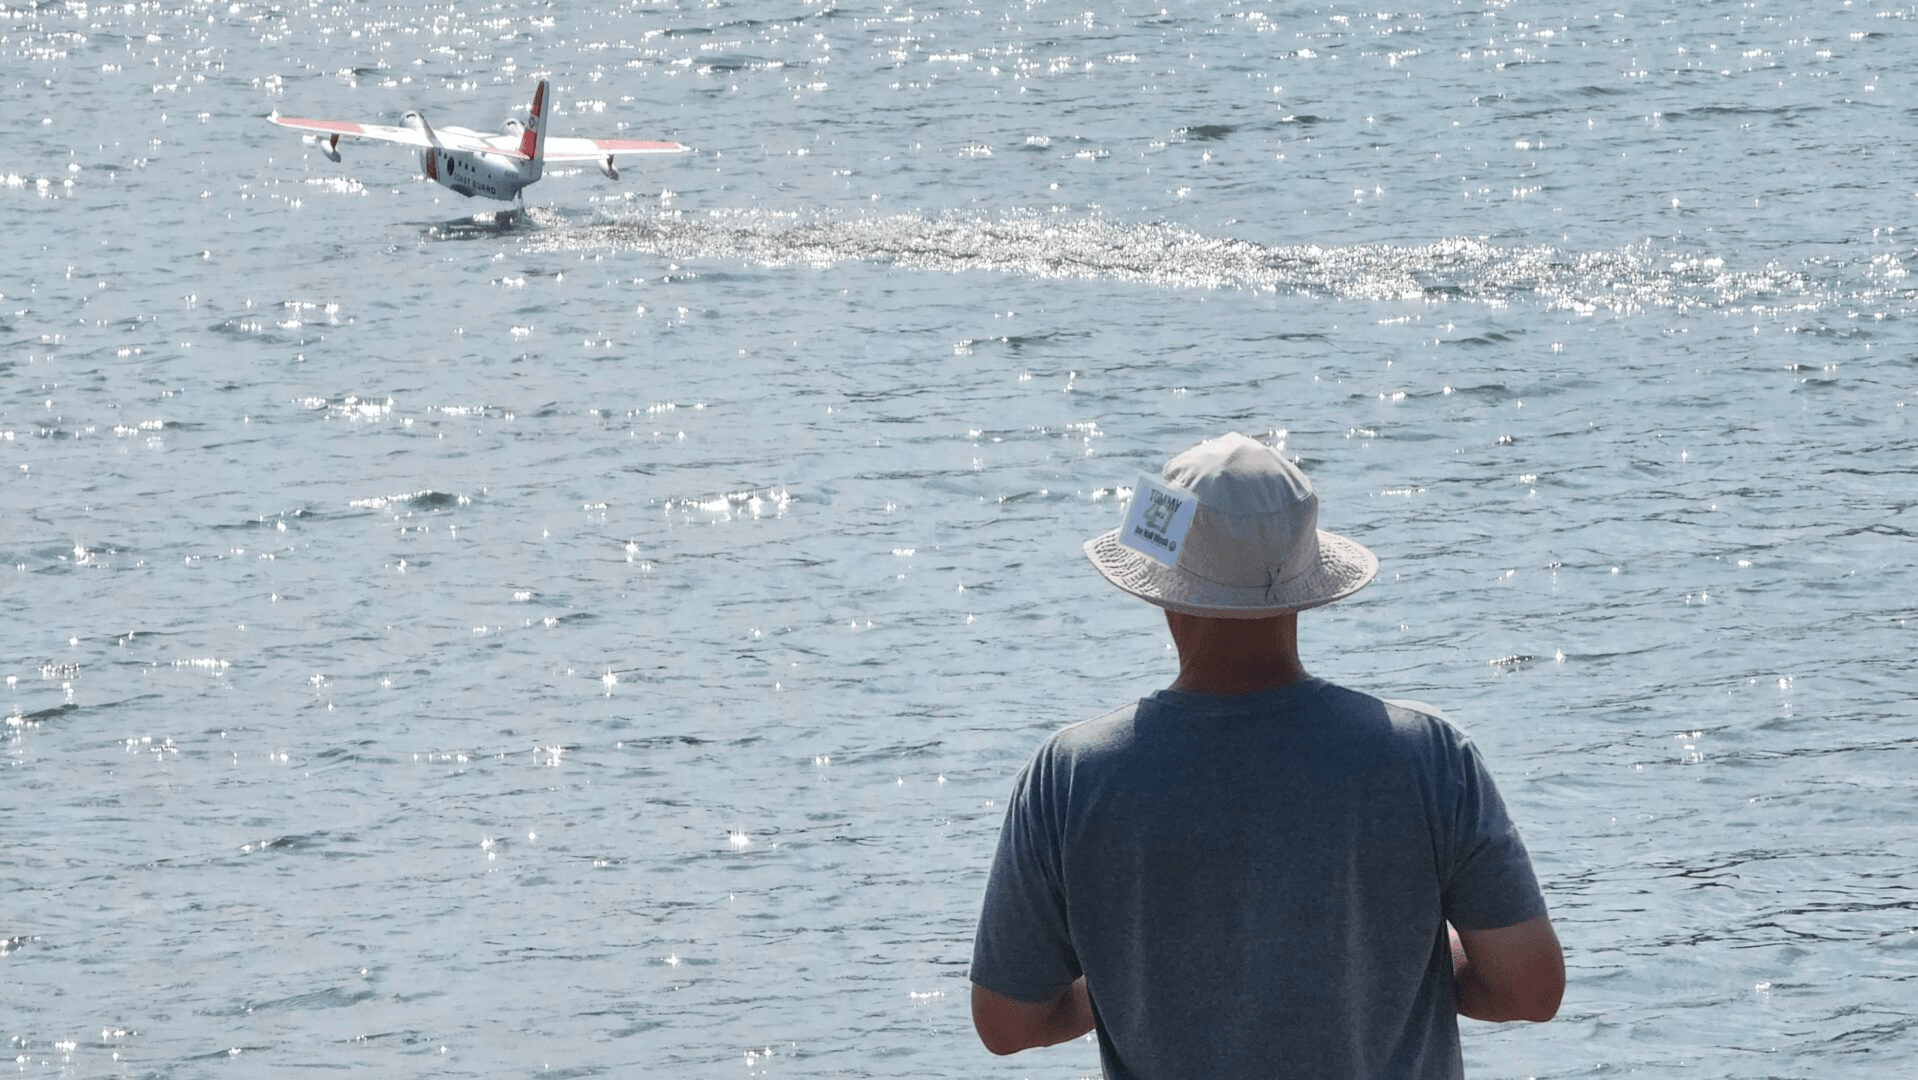
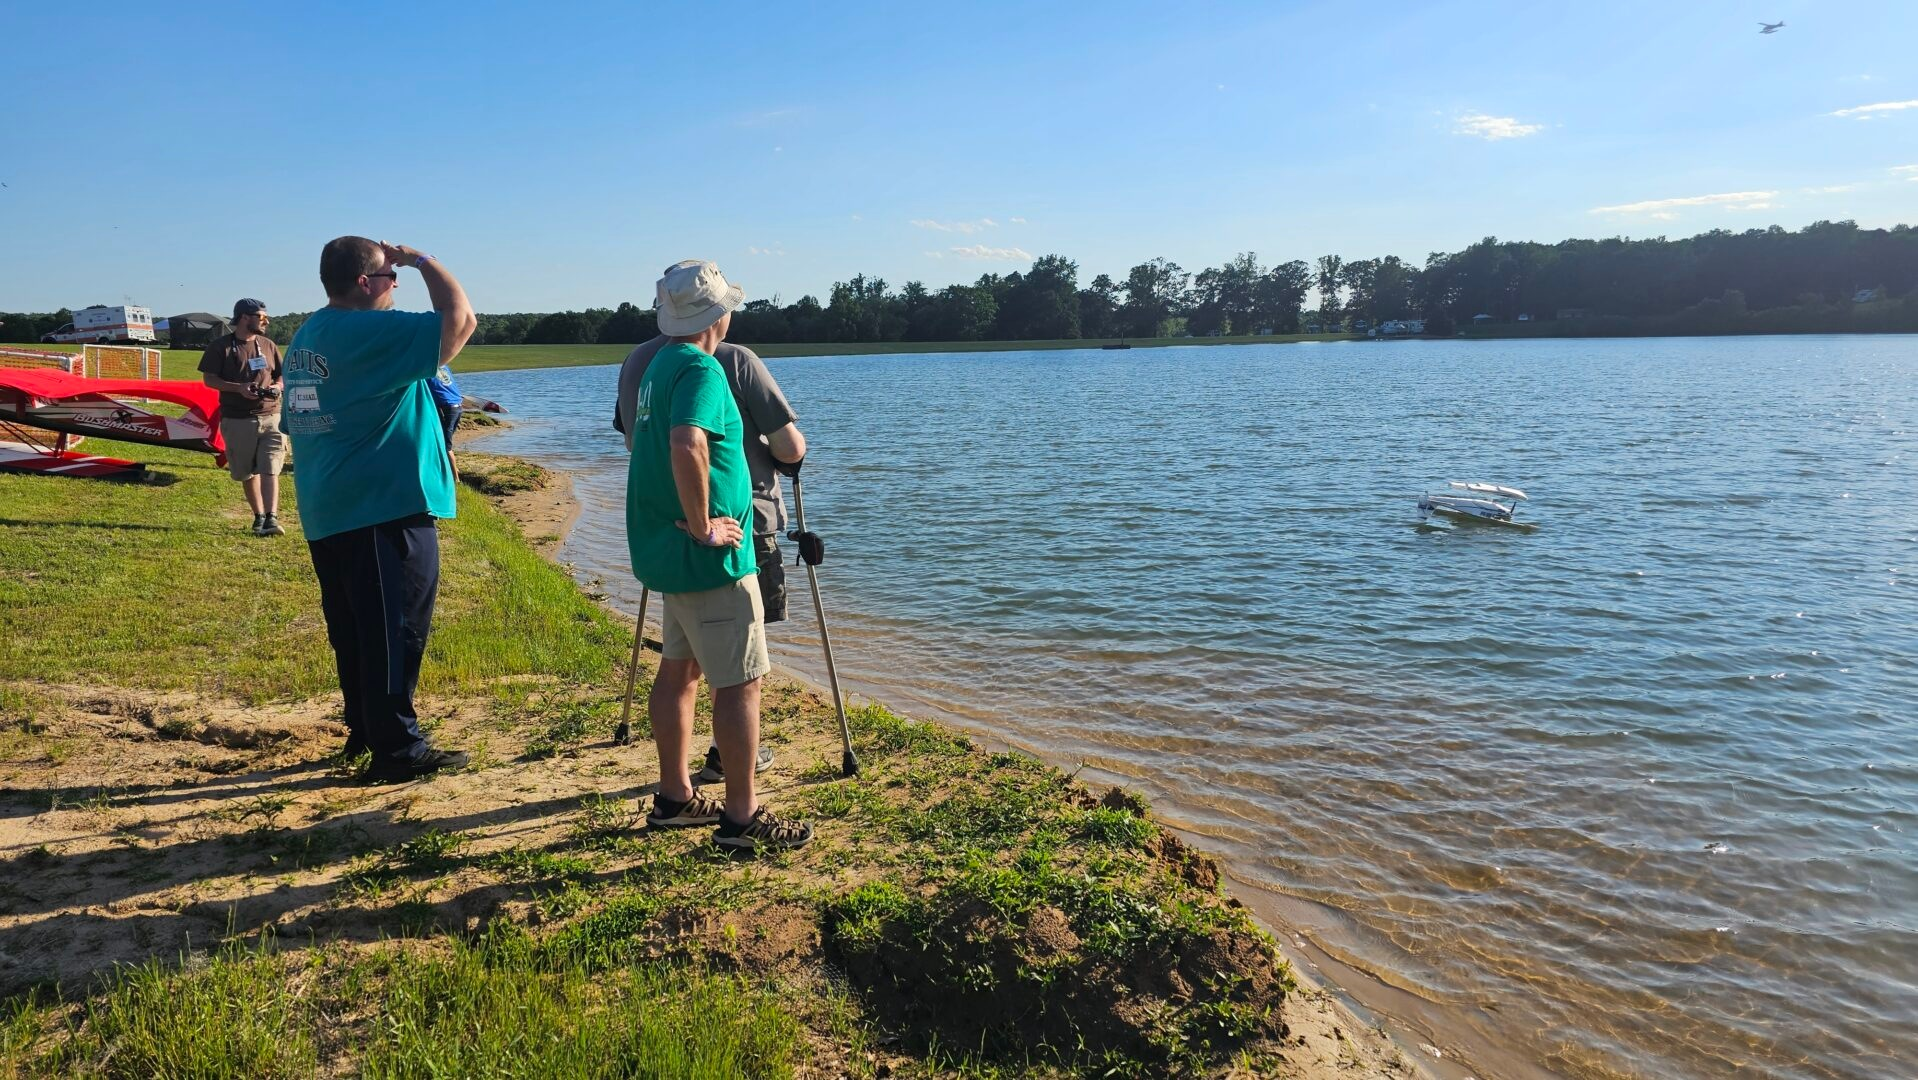


For me, the appeal is not having to do something spectacular on every flight. A good takeoff, a few relaxed circuits, and a landing that barely disturbs the water can make the whole trip worthwhile. Get the preparation right, leave yourself room to learn, and enjoy it.
Where to go next
References
Use the current instructions for your specific airplane, floats, radio, batteries, and engine whenever they specify a setup or procedure.
- Hangar 9 J-3 Cub 10cc EP PNP specifications and assembly, float installation, and CG manual.
- E-flite float manual, float-flying technique, pages 26–27. Its historical safety-code section is not a substitute for current site or aviation requirements.
- Model Aviation: Flying From Water and Flying from Water: float setup and geometry.